Capturing the Milky Way
|
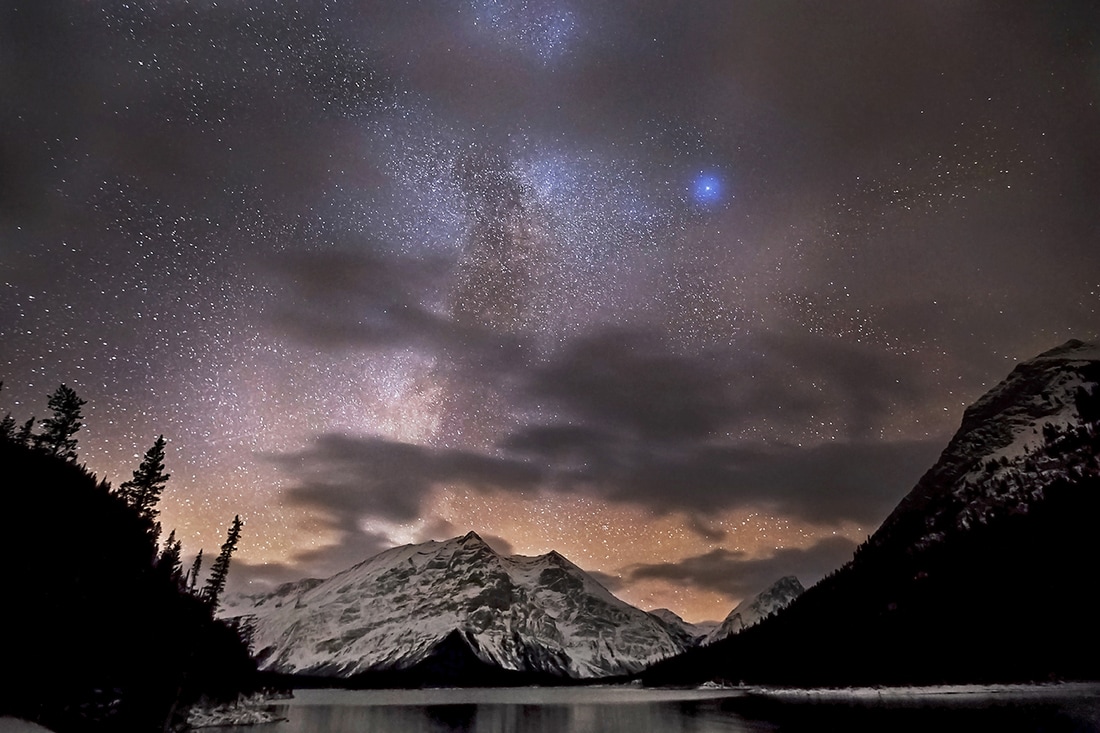
Seeing the Milky Way in the night sky is an awe inspiring sight and as a photographer that phrase means "something I want to capture". Fortunately modern camera equipment makes that much easier to achieve and when combined with modern post processing techniques even a novice can get results like the one adjacent.
I know you will probably be thinking "really, you're telling me a novice can make that shot" and the honest answer is yes they can, I know because this was my first ever attempt at shooting the Milky Way. This image is a stacked shot of 17 individual frames which does help capture more detail but it is possible to use different settings to the ones I used here and to make a Milky Way image in one shot. Obviously conditions need to be right in terms of dark and clear skies but it is something easily achievable with modern camera equipment, but first you have to find the Milky Way......... Our night sky has seasons just like the rest of the world we live in and because of this the 'galactic centre' of the Milky Way (otherwise known as the big bright bit in the middle we want to see) may not be visible in your night sky at this particular time of year. In the northern hemisphere the galactic centre rises to the south, never far above the horizon but this can really help you make interesting images using good strong ground based elements to add scale. In the southern hemisphere the galactic centre will often be positioned directly overhead allowing spectacular images of it's span across the night sky. The best time to see the Milky Way tends to be between March and October though the adjacent image was made late in November in Canada so it's never completely unavailable. |
|
The easiest way to find the Milky Way would be to look up on a dark night, and as long as you are free of light pollution that will work perfectly well. But for those looking to photograph the night sky, a little more effort is required to predict the location and plane of the target to allow us to frame the image the way we want. As you might expect in the 21st century, there are a huge number of Apps that will help you. For iOS 'PhotoPills' is a very good app but my favourite would be the android app 'Stellarium Mobile' just because of it's photo realistic view of the night sky, there are many more available and it's up to you to choose your own supporting tools but these two are certainly at the top of my list. Info for the adjacent image is here, as always for night shooting tripod and remote are wise but not absolutely essential.
|
Photographic Gear Used:
Canon 5DIII DSLR Camera Canon EF16-35mm f/2.8L II USM Lens Tripod Remote Trigger |
Camera Settings Used:
Focal Length: 16mm Aperture: F/2.8 ISO: 2500 Shutter Speed: 25 seconds |
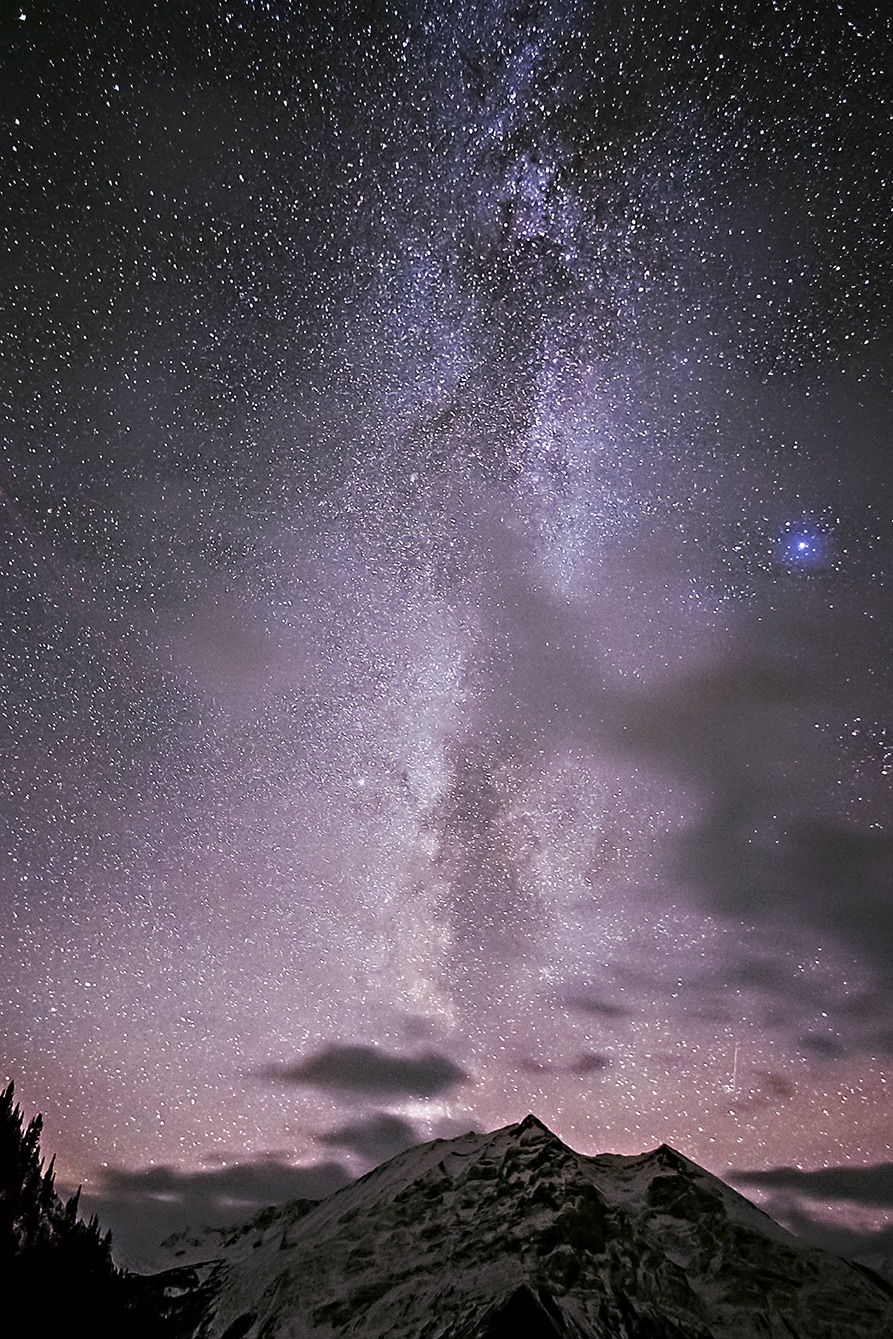
As I stated earlier, to make this image I shot 17 individual frames and later I stacked them in photoshop to produce the finished result. There are a number of other ways to stack images such as 'Star Stacker' and similar programs but as I've never used those I can't really tell you which are better. I use photoshop because I'm familiar with it, it seems to do a reasonable job and I already have it on the computer.
If you would rather try and make the shot in one go then you can increase the ISO to 6400 or more. You can also gain more light by using a faster lens too which will help make the shot in one go but personally I think stacking is the way to go as it seems to find much more light overall. Remember you can't just expose for longer to get more light because the rotation of the earth will cause the stars to drag across the sky leaving star trails which is another topic altogether. To know how long you can expose without getting star trails you can simply divide the focal length in use by 500, this gives you the number of seconds of exposure you can make. For example a 50mm lens gives you only 10 seconds before you will see star movement in the shot. A 25mm lens gives you 20 seconds, and a 16mm lens gives you 30 seconds. Superwide lenses will often produce 'trailing' at the outer edges of the photo long before this calculation suggests, so make a shot to test your lens and then check the review screen for any signs of trailing particularly toward the edges/corners.